Keeping tile floors spotless doesn’t have to be overwhelming.
With the right method and tools, you can maintain sparkling clean tiles that feel fresh and welcoming.
Follow this step-by-step guide to make tile floor cleaning easier, more efficient, and long-lasting.
Tile Floor Cleaning Made Simple: Step-by-Step Method
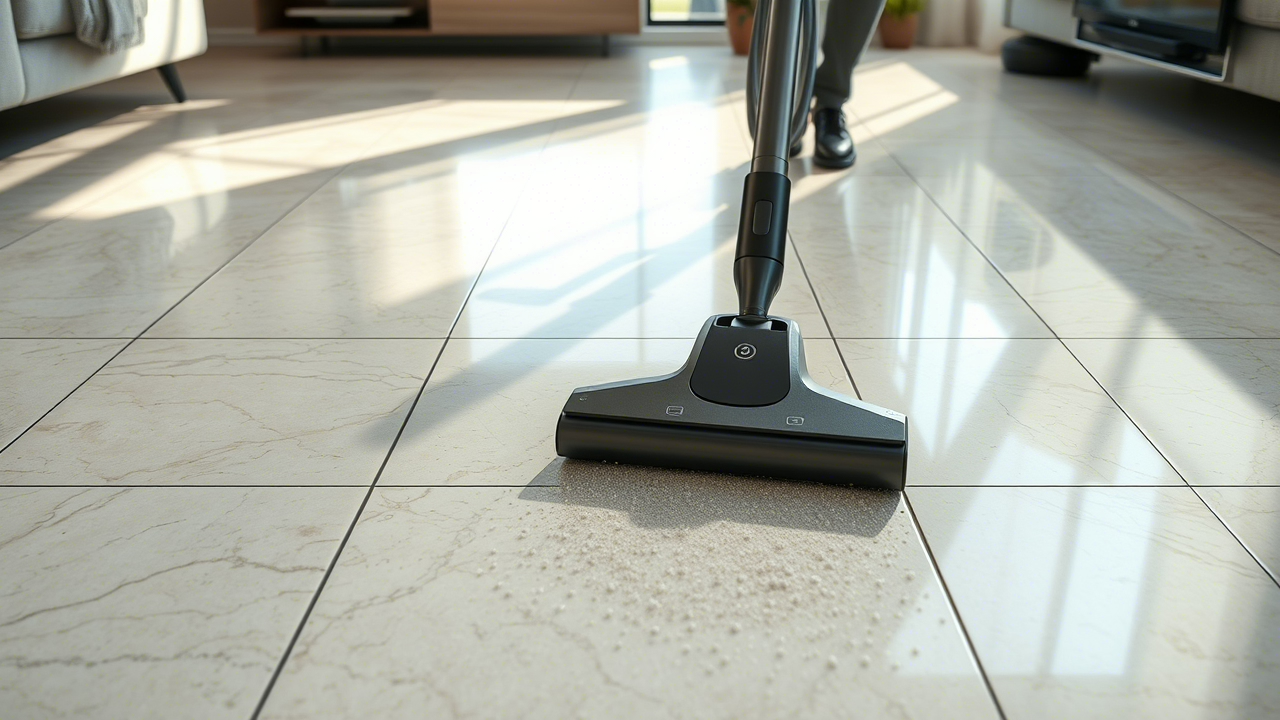
1. Sweep or Vacuum First
Before using any liquids, remove dirt, dust, and pet hair from the floor.
Use a vacuum with a hard floor setting or a soft-bristle broom.
This simple step prevents grit from scratching your tile surface and makes the mopping process much more effective and less messy.
2. Choose the Right Mop
Use a microfiber mop or spin mop for best results.
Avoid sponge mops as they tend to push dirty water into grout lines.
A good mop should glide easily, reach corners, and absorb moisture efficiently.
This makes cleaning easier and more thorough without leaving streaks or residue.
3. Use a Gentle, Tile-Safe Cleaner
Not all cleaners are safe for tile.
Choose a pH-neutral floor cleaner specifically made for tile to avoid damaging the surface or grout.
Harsh chemicals can dull the finish over time.
Mix according to label instructions and avoid overuse, which can cause buildup.
4. Work in Small Sections
Tackle the floor in sections to maintain control and avoid stepping on freshly cleaned tiles.
Working in small areas ensures the mop stays clean longer and prevents dirty water from spreading.
It also helps you catch spots that need extra attention as you go.
5. Change Mop Water Often
Using dirty mop water spreads grime instead of removing it.
Rinse your mop frequently and replace the water when it looks cloudy.
Clean water ensures your tiles are actually getting clean and helps avoid streaks or sticky residues that attract more dirt.
6. Dry the Floor Immediately
Air drying may leave water spots, especially on glossy tiles.
Use a dry microfiber cloth or towel to wipe the floor dry right after mopping.
This step not only prevents water stains but also adds a polished finish to your clean tile floors.
7. Spot Clean Grout
Grout often holds onto dirt and stains.
Use a small brush (an old toothbrush works well) and a baking soda-water paste to scrub gently.
Avoid bleach-based products, as they can erode grout over time. Rinse with clean water and dry thoroughly to maintain grout color.
8. Protect High-Traffic Areas
Place washable rugs or mats in frequently used areas like the kitchen or entryway.
These help trap dirt before it reaches your tiles and reduce wear and tear.
Be sure to clean under them regularly to prevent moisture or grit from scratching the tile surface.
9. Avoid Steam Mops on Some Tiles
Steam mops may seem convenient, but not all tile floors are steam-safe.
Porcelain can usually handle it, but softer tiles like marble or natural stone can get damaged.
Always check the manufacturer’s recommendation before using high-heat tools to avoid accidental damage.
10. Clean Up Spills Right Away
Tiles resist stains, but grout is porous and can absorb liquids.
Wipe up juice, wine, oil, or food spills as soon as possible using a damp cloth.
Quick cleanup prevents sticky spots and staining, especially in grout lines, and keeps your floors looking consistently fresh.
11. Do a Deep Clean Monthly
Even with regular cleaning, a deep clean once a month helps keep tile floors in top condition.
Use a tile-safe cleaner and scrub with a mop or brush to remove buildup in grout lines or textured surfaces.
Rinse well and dry afterward for a spotless result.
12. Use Felt Pads on Furniture Legs
Scratches aren’t just caused by dirt—heavy furniture can leave marks on tiles, especially during rearranging or cleaning.
Attach felt pads under table and chair legs to prevent scuffs.
These small additions can preserve your tile finish and reduce unnecessary wear.
13. Refresh Grout with a Sealer
Over time, grout lines can darken and collect grime.
Applying a grout sealer once or twice a year helps prevent moisture absorption and staining.
Choose a clear, penetrating sealer and apply with a small applicator to keep your grout looking like new.
14. Test New Products First
Trying a new cleaner or tool?
Always test in a hidden corner of your tile floor before using it across the entire area.
This helps avoid discoloration, scratching, or damage.
Better safe than sorry—especially with delicate or decorative tile styles.
15. Don’t Over-Wet the Floor
Flooding your tile floor with water can weaken grout and damage the subfloor over time.
Mop with a damp, not dripping, cloth or mop head.
Excess moisture can also cause mold growth in the grout, so always wring out well and dry thoroughly.
16. Avoid Abrasive Scrubbers
It might be tempting to use steel wool or harsh scrubbers on tough stains, but these can scratch your tile.
Stick with nylon brushes or non-scratch pads that are effective but gentle.
Your tile floor will thank you with a long-lasting, flawless shine.
FAQs
1. Can I use vinegar on tile floors?
Vinegar is acidic and can damage some tile finishes and grout over time.
Stick with pH-neutral cleaners made specifically for tile to be safe.
2. How often should tile floors be mopped?
For busy households, once a week is ideal.
High-traffic areas may need spot mopping more frequently to maintain cleanliness.
3. What’s the best way to remove tough stains from grout?
Use a paste of baking soda and water with a soft-bristle brush.
Let it sit for 5 minutes before scrubbing and rinsing thoroughly.
The Wind-Up
A spotless tile floor is all about consistency, the right tools, and knowing what to avoid.
Follow these steps to keep your tiles shining, your grout clean, and your floor feeling fresh every day.
For more household tips, cleaning routines, and homemaking guides, visit our blog.