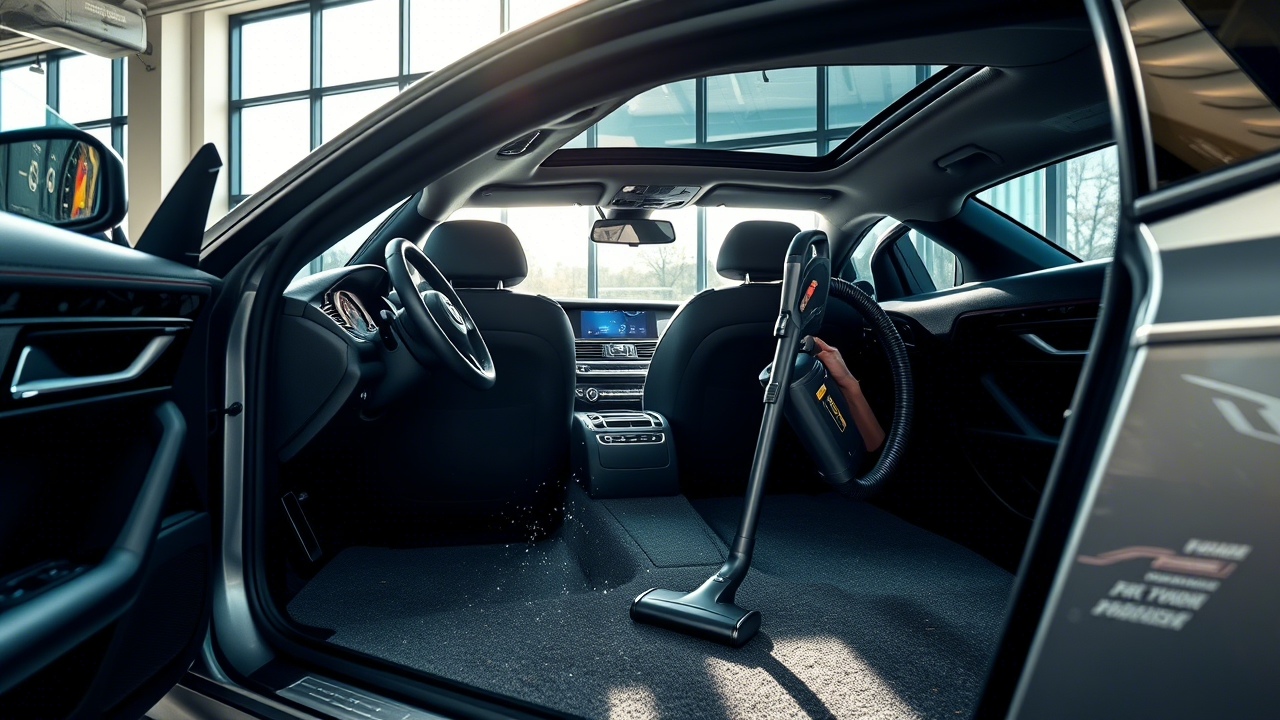
Give your car a cleaner feel with less effort.
Prepping before you vacuum ensures better results and faster cleanups.
Whether it’s crumbs in cup holders or pet hair on the seats, this guide simplifies your steps for a spotless interior.
Vacuum Your Car Better with This Simple Prep Guide
1. Clear Out Trash First
Start with the obvious—remove wrappers, bottles, and larger debris.
This gives you a clear view of the mess underneath and prevents your vacuum from clogging.
Use a trash bag to collect everything in one go.
The fewer obstacles left behind, the smoother your vacuuming process will be.
2. Shake Out Floor Mats
Take out all the mats and shake them firmly outside the vehicle.
If they’re still dusty, beat them against a wall or use a handheld broom.
This prep step removes loose dirt and crumbs, so you’re not grinding debris deeper into the mats during vacuuming.
3. Slide Seats Forward and Back
Adjusting your car seats lets you get into the hidden areas where dirt gathers.
Slide them forward first, vacuum underneath, then move them back and do the same.
These overlooked areas are where coins, food bits, and dust love to hide, so don’t skip them.
4. Use a Brush to Loosen Debris
Before vacuuming, use a soft detailing brush to loosen dirt from vents, buttons, and seat seams.
Brushing first lifts particles trapped in tight spaces, making it easier for your vacuum to pick them up in one pass.
It’s especially useful for textured or patterned surfaces.
5. Remove Car Seat Covers
If your vehicle has removable seat covers, take them off and shake them outside.
Vacuuming over them while attached can miss the crumbs and dirt beneath.
Washing them later will give your car a fresher feel and make cleaning easier in the future.
6. Open All Doors for Access
Vacuuming is more efficient when you can reach all areas without squeezing.
Open all doors before starting.
This gives you better angles and room to move your vacuum, especially when tackling tight spots between seats and center consoles.
7. Choose the Right Nozzle
Each attachment has a job. Use the crevice tool for tight corners and between seats.
The brush nozzle is perfect for air vents and dashboards.
Don’t just use one nozzle for the entire car—switching between tools saves time and gives better results.
8. Brush Pet Hair Before Vacuuming
Use a pet hair remover brush or rubber squeegee before you start vacuuming if you have furry passengers.
Hair tends to stick to fabric, and brushing it first helps your vacuum lift it easier.
It saves you multiple passes over the same area.
9. Pre-Vacuum Cup Holders
Use a dry brush or microfiber cloth to clean cup holders before vacuuming.
Liquids or sticky residue can clog your vacuum or damage the hose.
Wiping first ensures you’re not spreading grime, and it helps keep your vacuum in better condition.
10. Roll Down Windows Slightly
Lower each window a bit to vacuum along the top edges where dust builds up.
These areas are often missed and can smear when rolled down.
Cleaning the entire surface gives your car a neater finish and a better view while driving.
11. Use Compressed Air on Vents
Blow out trapped dust and particles from vents using compressed air before vacuuming.
It lifts debris that the vacuum can catch afterward.
This helps avoid pushing dust around while driving and improves your car’s air freshness, especially during hot months.
12. Lightly Brush Door Pockets
Car doors tend to trap crumbs, dust, and receipts.
Use a soft brush or toothbrush to loosen dirt in the seams and pockets.
Once loosened, your vacuum will easily collect everything, leaving those spots cleaner without damaging the interior lining.
13. Dry Seats Before You Start
If your seats are wet from spills or rain, blot them with a microfiber towel first.
Wet surfaces can clog your vacuum or lead to mildew.
Vacuuming a dry surface is more efficient and prevents smells from lingering inside the car.
14. Charge or Check Vacuum Battery
If you’re using a cordless vacuum, ensure it’s fully charged.
A half-charged vacuum might lose suction before the job’s done.
For plug-in types, check the cord length and outlet access before you start.
This simple check prevents mid-clean interruptions.
15. Keep a Small Bin Handy
Use a small basket or bin to collect coins, toys, or items found during cleaning.
Instead of tossing them aside or vacuuming them by accident, you can return or store them properly later.
It also prevents you from missing valuable items in the process.
FAQs
1. How often should I vacuum my car interior?
Once a week is ideal for daily drivers.
If you have pets or kids, twice a week helps manage crumbs, fur, and spills before they build up.
2. What’s the best vacuum type for car cleaning?
A handheld or cordless vacuum with strong suction and various nozzles is best.
Wet/dry vacs are great if you expect to clean up spills or wet debris.
3. Can I vacuum my car with a regular home vacuum?
Yes, but make sure it has the right attachments.
Use long cords or an extension for reach, and avoid vacuuming liquids unless your machine supports wet cleaning.
The Wind-Up
Prepping your car before vacuuming takes just a few extra minutes, but the payoff is a cleaner, fresher ride with half the hassle.
Want more smart cleaning tips? Check out our latest home vacuuming guides.
