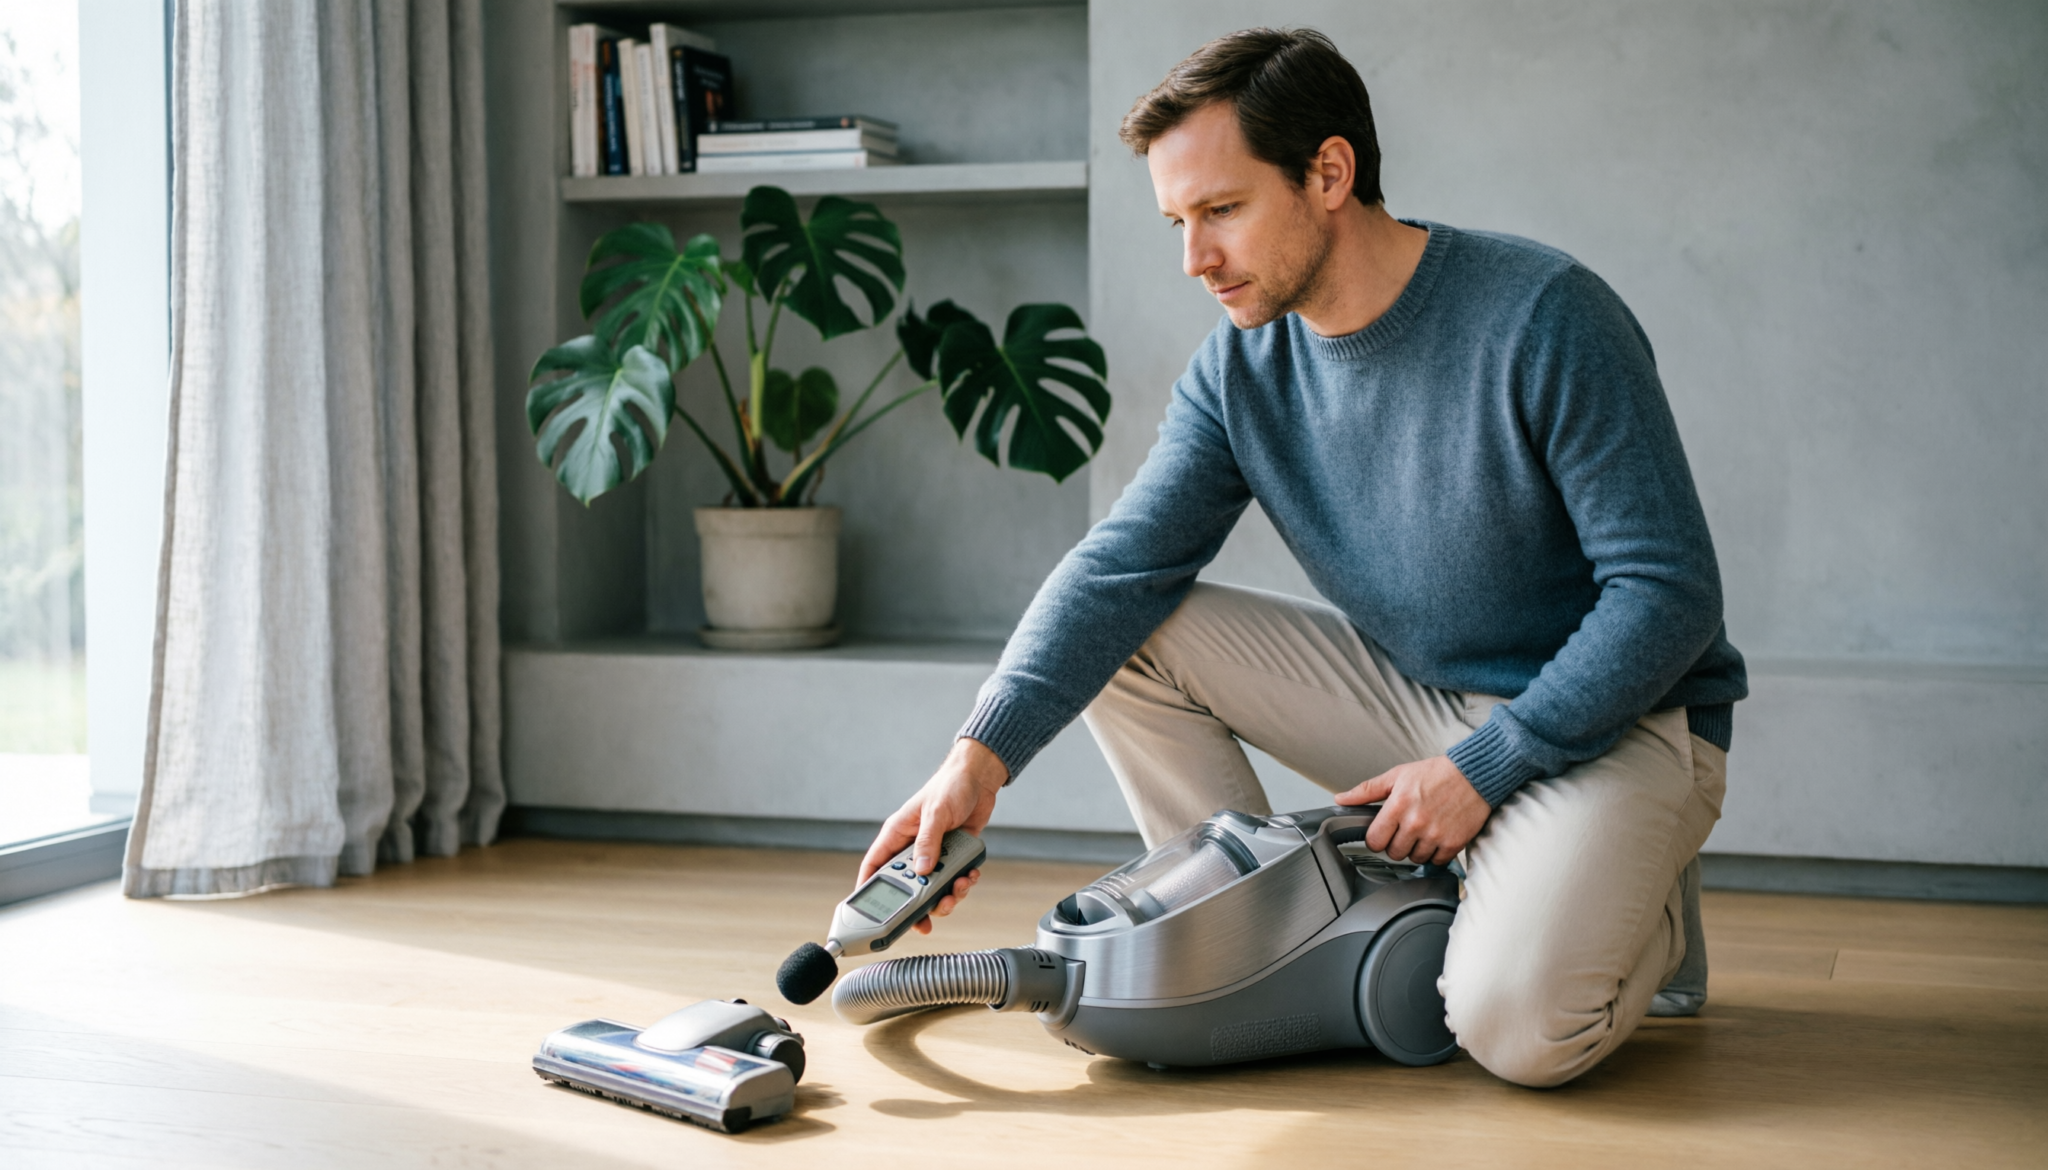
Measure vacuum noise at one meter using a calibrated sound level meter; readings above 75 dB indicate a loud machine, while rubber isolation, airflow maintenance, and enclosure materials reduce noise.
WARNING
Never block a vacuum intake, exhaust, cooling vent, or motor opening during noise reduction. Restricted airflow can increase motor temperature, reduce suction, damage components, and create fire hazards.
How Vacuum Noise Gets Measured Correctly
Vacuum noise measurement requires more than a smartphone decibel application and a quick reading beside a running motor.
Room acoustics, measurement distance, floor surfaces, walls, furniture, and operating mode can change recorded sound pressure.
A sound level meter provides a more consistent measurement. Professional testing commonly uses A-weighted decibels, written as dBA, because A-weighting approximates human hearing sensitivity across different frequencies.
A practical home test requires three measurements:
- One meter from the vacuum
- One meter above floor level when practical
- At the same operating mode for every test
A hard-floor vacuum test should use the same floor surface during comparison. Carpet can absorb some high-frequency sound and produce a different result.
Background noise also matters. A quiet room provides a better baseline. A room measuring 35 dBA before vacuum operation offers substantially cleaner test conditions than a room measuring 55 dBA.
For repeatable results, record background noise first, start the vacuum, allow operating speed to stabilize, then record several readings. Average readings provide a more useful figure than a single peak.
Smartphone applications can provide a rough estimate, but microphone calibration varies considerably between phones. A dedicated sound level meter provides stronger measurement consistency.
What Decibel Readings Actually Mean
Decibels use a logarithmic scale rather than a simple linear scale. A small numerical change can represent a meaningful acoustic difference.
A vacuum producing 70 dBA does not create merely 10 percent more sound than a 60 dBA machine. Sound pressure level changes logarithmically, making direct percentage comparisons misleading.
Vacuum noise usually contains several sound sources:
- Motor and fan turbulence
- Airflow through hoses and ducts
- Brushroll or agitator vibration
- Wheels and housing vibration
- Loose panels or covers
- Exhaust turbulence
- Contact between cleaning heads and flooring
A high-pitched motor whine can feel more intrusive than a lower-frequency mechanical hum at a similar measured level.
Consequently, dBA provides useful overall information without describing every aspect of perceived sound quality.
Comparison Table
| Noise Attribute | Practical Measurement | Useful Target |
|---|---|---|
| Background room noise | Meter reading before vacuum operation | Below 40 dBA |
| Vacuum operating noise | A-weighted reading at 1 meter | Around 60–70 dBA |
| Loud operating range | A-weighted reading at 1 meter | Above 75 dBA |
Decibel values should never receive comparison without matching measurement distance, operating mode, floor surface, and test environment. Manufacturer ratings can also use different testing conditions.
Find Noise Sources Before Adding Muffling
Noise reduction works best after identifying the dominant sound source. Adding insulation around an already poorly maintained vacuum can mask symptoms while leaving the main acoustic problem untouched.
A clogged filter increases airflow resistance. A restricted hose changes airflow behavior. A packed dust container can alter air movement.
A worn bearing can produce mechanical vibration. A loose housing panel can amplify vibration through resonance.
A useful diagnostic sequence starts with basic maintenance.
Check filters first. Replace overloaded filters according to manufacturer specifications. Clean washable filters only when manufacturer instructions permit washing. Allow completely dry filters before installation.
Inspect hoses for cracks, obstructions, and loose connections. Examine floorheads for tangled hair and debris around rotating components.
Check wheels, brushrolls, covers, and dust-bin assemblies for looseness. Small gaps can create rattling noises that sound surprisingly loud.
Motor noise requires greater caution. Grinding, scraping, irregular pulsing, burning smells, or sudden changes in pitch can indicate mechanical or electrical problems.
Noise reduction should not substitute for professional service when mechanical failure appears possible.
Muffle Vacuum Noise Without Blocking Airflow
Effective muffling separates airborne sound reduction from mechanical vibration isolation.
Rubber or elastomer isolation can reduce vibration transferred from a motor or housing into surrounding surfaces. Soft mounting materials can prevent rigid contact between vibrating components and plastic panels.
Foam can absorb some airborne sound, but foam placement requires careful engineering. Foam must never obstruct cooling vents, exhaust passages, intake openings, filters, or moving components.
A useful approach involves treating the vacuum housing as an acoustic structure. Large flat panels can resonate when exposed to motor vibration.
Properly secured damping material can reduce panel vibration without restricting airflow.
Door seals and housing seals can also reduce rattling when manufacturer-approved replacement components remain available. Loose clips, covers, and panels should receive attention before additional acoustic material.
For canister vacuums, hose movement can transmit vibration into floors and walls. Keeping the canister away from hollow cabinets and hard resonant surfaces can reduce perceived noise.
For upright vacuums, handle vibration can travel directly into flooring. Controlled operation, intact wheels, and properly secured brushroll assemblies can reduce unnecessary mechanical noise.
Technician rule: airflow paths remain sacred. Any muffling material placed near airflow must maintain adequate clearance and ventilation.
Practical Ways To Lower Vacuum Noise
Several low-risk methods can reduce perceived vacuum noise without modifying motor airflow.
Maintain filters. Clean filtration supports normal airflow and prevents excessive motor workload.
Clear the brushroll. Hair and thread accumulation can increase vibration and mechanical noise.
Inspect floorhead contact. Excessive suction against smooth flooring can create a loud seal effect. Correct floorhead height or airflow settings can help when manufacturer controls permit adjustment.
Avoid resonant storage locations. Operating near empty cabinets, narrow corners, or hard wall surfaces can increase reflected sound.
Use soft floor contact where appropriate. Rubber wheels and intact bumper materials reduce vibration transfer.
Secure loose panels. Rattling plastic can produce a surprisingly prominent secondary noise source.
Keep exhaust outlets clear. Blocked exhaust increases airflow resistance and can raise operating strain.
Use lower-power modes when practical. Many modern vacuums provide multiple suction settings. Lower suction can reduce motor and airflow noise during light cleaning.
Create distance. A vacuum operating farther from occupied rooms produces lower sound exposure. Acoustic energy decreases as distance from a point source increases, although room reflections complicate indoor measurements.
Expert Insight
A quiet vacuum starts with unrestricted airflow, balanced rotating components, secure housing panels, and isolated vibration. Acoustic foam comes later; premature insulation can hide faults while increasing motor heat and reducing reliability.
Build A Repeatable Noise Test
A repeatable home test can produce useful before-and-after results.
Place a sound level meter one meter from the vacuum. Mark the measurement position on the floor with tape. Keep the meter microphone approximately one meter above floor level where practical.
Record room background noise for at least several seconds.
Run the vacuum using a consistent power setting. Wait until motor speed stabilizes. Record multiple readings rather than relying on one number.
Repeat the measurement after maintenance.
For muffling experiments, change one factor at a time. For example, measure baseline noise, secure a loose panel, measure again, then evaluate vibration isolation separately.
Record average readings and maximum readings separately. Average dBA helps describe typical operating sound, while maximum readings reveal short peaks.
A reduction of several dBA can represent a meaningful acoustic change, but measurement uncertainty matters. Small changes below approximately 1–2 dBA may fall within ordinary testing variation, especially with inexpensive meters.
Common Noise-Reduction Mistakes To Avoid
The most dangerous mistake involves wrapping a vacuum tightly with blankets, foam, fabric, or other materials. Such materials can restrict cooling airflow and trap heat around motor components.
Another mistake involves sealing exhaust openings in an attempt to reduce noise. Exhaust restriction can increase internal pressure and motor workload.
Removing factory acoustic insulation can also make noise worse. Some vacuums use engineered barriers, damping materials, airflow channels, and motor mounts designed as a complete acoustic system.
A third mistake involves measuring noise directly beside the motor housing. Such a reading provides little value for normal household exposure and makes comparisons between machines difficult.
Finally, smartphone readings should not receive laboratory-level confidence. Phone microphones and applications can produce useful rough estimates, but calibrated instruments provide stronger evidence.
FAQs
1. What dB level is considered quiet for a vacuum?
A vacuum operating around 60–70 dBA at one meter generally falls within a comparatively moderate household noise range. Measurement conditions must remain consistent before comparing machines.
2. Can foam make a vacuum quieter?
Acoustic foam can absorb some airborne sound and reduce reflections, but foam must remain completely clear of intake, exhaust, cooling, filtration, and moving components.
3. Does a louder vacuum clean better?
Noise level does not establish cleaning performance. Airflow, suction, agitation, filtration, nozzle design, brushroll performance, and floor contact determine cleaning effectiveness more directly.
Bottom Line
Vacuum noise measurement requires consistent distance, A-weighted decibel readings, controlled operating conditions, and quiet background conditions. Maintenance should precede muffling.
Clean filters, clear airflow, secure panels, balanced rotating components, vibration isolation, and careful acoustic treatment can reduce unnecessary noise without compromising motor cooling, suction, or reliability.