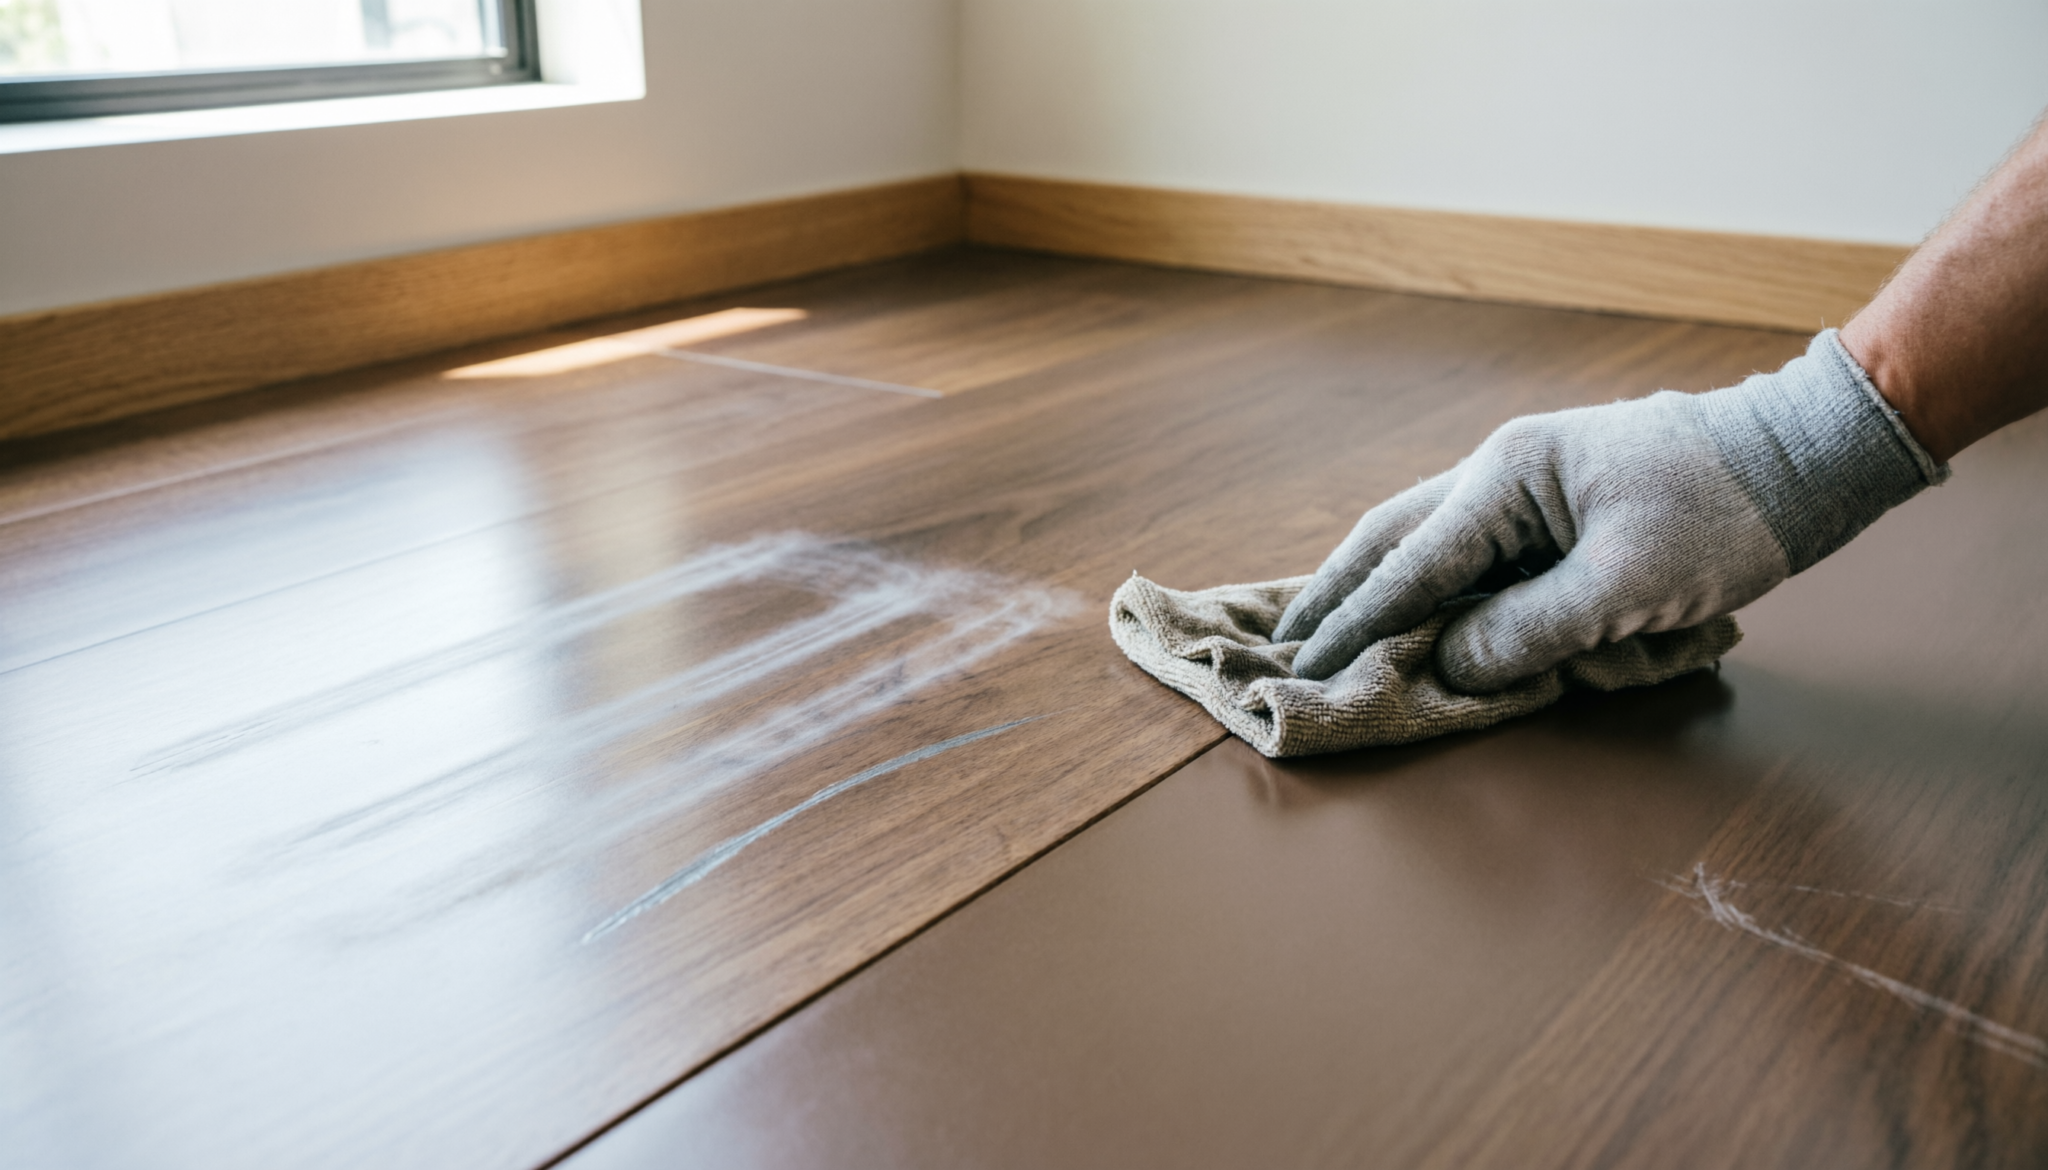
Maintenance Quick-Start: Fine dust clings to hardwood because static electricity, micro-scratches, and dry airflow trap particles against the surface.
Soft rollers lift and trap debris through full-surface contact, while parquet brushes rely on airflow and bristle agitation.
Roller height, humidity, and suction control determine whether dust lifts cleanly or smears across the floor.
Warning: Aggressive Brush Rolls Can Damage Hardwood
Standard stiff-bristle brush rolls scratch polyurethane finishes and force grit into wood grain seams.
High suction combined with narrow floor heads also creates static buildup that makes dust cling harder after cleaning.
Vacuum heads designed for carpet often worsen dust streaks on oak, maple, walnut, and engineered wood flooring.
Comparison Table
| Filter Grade | Particle Size Outcome | Capture Efficiency | Medical Application |
|---|---|---|---|
| Standard Foam Filter | Captures visible debris only | Low against fine dust | General household cleaning |
| HEPA H13 | Captures particles as small as 0.3 microns | 99.95% efficiency | Allergy-sensitive homes |
| ULPA Filter | Captures ultrafine airborne particles | 99.999% efficiency | Cleanrooms and medical labs |
Why Dust Clings to Hardwood Floors
Hardwood appears smooth from standing height, but microscopic inspection tells a different story.
Wood flooring contains pores, finish irregularities, seams, and tiny scratches that trap fine dust. Every footstep grinds particles deeper into those imperfections.
Static electricity adds another problem. Dry indoor air, rubber vacuum wheels, and fast airflow create an electrostatic charge across the floor surface.
Dust particles become electrically attracted to the wood instead of floating freely into the vacuum head.
Dark wood makes the issue more obvious. Walnut and espresso finishes highlight every fine particle because light-colored dust contrasts sharply against the surface.
Seasonal humidity changes also matter. During dry winter months, hardwood floors produce more static.
Dust begins sticking along edges, corners, and beneath furniture where airflow weakens.
Soft dust behaves differently than grit. Sand, crumbs, and pet litter respond to suction quickly.
Flour-like debris, ash, skin flakes, and fine pet dander smear and cling unless the vacuum head maintains consistent surface contact.
Scuffs vs. Scratches: The Light-Angle Diagnostic
The Raking Light Test
Shine a flashlight low across the floor, almost parallel to the surface.
- A scuff looks like a flat smear with no depth.
- A scratch shows a shadow or edge because light catches the groove.
This single step prevents wasted effort using the wrong fix.
The Nail Test
Run a fingernail lightly across the mark.
- No resistance: surface scuff.
- Nail catches: topcoat damage.
If the nail drops into the line, it is no longer cosmetic cleaning. It is repair work.
Removing Vacuum Scuffs and Scratches from Polyurethane
Phase 1: The Scuff-Removal Protocol (The “Additive” Marks)
The Tennis Ball Hack
A standard tennis ball works because of its slightly abrasive felt. Press and rub over the scuff using steady pressure. The friction lifts rubber without stripping the finish.
This works especially well on vacuum wheel marks.
Baking Soda Paste
For stubborn residue, mix baking soda and water at a 3:1 ratio.
- Apply gently with a soft cloth
- Rub in small circles
- Wipe clean immediately
Baking soda cuts through plastic transfer without scratching when used lightly.
The Microfiber Wipe
Use a high-density microfiber cloth only. Cheap cloths drag grit and create new scratches.
Light pressure, straight-line wiping, and frequent rinsing prevent damage during cleaning.
Phase 2: Repairing Micro-Scratches (The “Subtractive” Damage)
Step 1: The #0000 Steel Wool Buff
Ultra-fine steel wool softens the edges of a light scratch.
- Rub with the grain, never across it
- Keep pressure controlled
- Focus only on the damaged line
This blends the scratch into the surrounding finish instead of widening it.
Step 2: Sheen Matching
Polyurethane comes in different sheens:
- Satin: low reflection, most forgiving
- Semi-gloss: moderate shine
- High-gloss: very reflective, shows every flaw
Using the wrong sheen creates a visible patch that looks wet or uneven. Always match the existing finish.
Step 3: The Precision Poly Fill
Apply a tiny amount of wipe-on polyurethane using a cotton swab.
- Fill only the scratch
- Do not spread beyond the line
- Allow proper drying before assessing
The goal is to eliminate the white line by restoring clarity, not building a thick layer.
The Refinishing Trap: When DIY Fails
If a mark appears grey or black, the problem has gone deeper than the finish. Moisture has reached the wood itself.
At this stage, surface fixes will fail. The only reliable solution is sanding the affected area or replacing the board entirely.
The Restoration Toolkit
| Type of Mark | Damage Level | Required Tool | Restoration Agent |
|---|---|---|---|
| Rubber Scuff | Surface only | Tennis Ball | Dry friction |
| White Line | Topcoat only | #0000 Steel Wool | Sheen-matched poly |
| Grey/Black Mark | Deep wood | Sandpaper (220 grit) | Professional refinish |
| Sticky Residue | Residue | Microfiber cloth | pH-neutral cleaner |
Technician’s Insight
Technician’s Insight: Fine dust residue after vacuuming usually points to excessive airflow velocity rather than weak suction. High-speed airflow increases static attraction on sealed hardwood surfaces.
Soft rollers reduce airborne turbulence by maintaining continuous floor contact, while poorly designed parquet heads scatter particles sideways instead of channeling them inward efficiently.
Prevention: Stop Fixing the Same Problem Twice
Most scuffs and micro-scratches trace back to one issue: hard plastic wheels grinding dirt into the floor. That turns every cleaning session into low-grade sanding.
Two practical fixes:
- Clean vacuum wheels weekly
- Upgrade to models with rubberized or felt-lined wheels
Pair that with a proper pH-neutral cleaner, and surface damage drops sharply.
FAQs
1. Why does hardwood still look dusty after vacuuming?
Fine particles remain because static electricity attracts dust back onto the surface. Overpowered suction and stiff brush rolls often worsen the problem by scattering lightweight debris instead of trapping it.
2. Are soft rollers safer for hardwood floors?
Yes. Soft rollers reduce concentrated friction and distribute pressure more evenly across the floor surface. Properly maintained rollers lower scratch risk compared to aggressive carpet brush rolls.
3. Do parquet brushes work better for delicate wood floors?
Parquet brushes protect fragile finishes because soft bristles glide gently across the surface. Performance depends heavily on suction quality and anti-static airflow design.
Bottom Line
Dust sticks to hardwood because microscopic texture, static electricity, and turbulent airflow trap particles against the floor surface.
Soft rollers reduce static and capture fine debris more effectively through full-contact cleaning.
Parquet brushes protect delicate finishes with gentler airflow control. Floor condition, humidity, and vacuum head design determine which system leaves hardwood genuinely clean instead of visually dusty.